
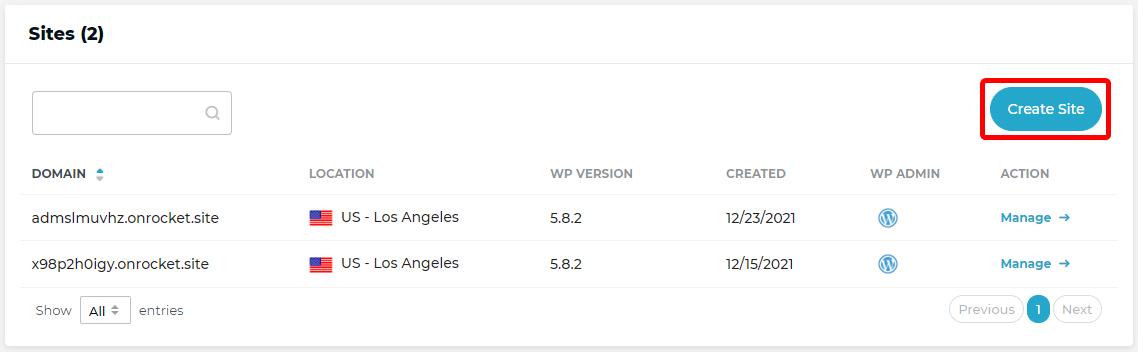
To add a new WordPress site, go to your Rocket.net Dashboard, and click Create Site in the upper right corner of the Sites section.
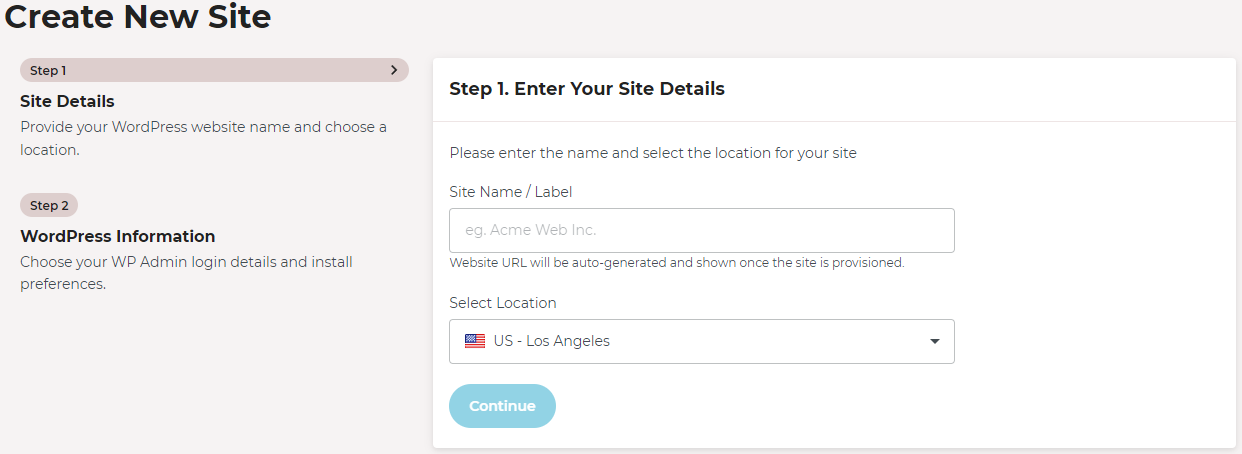
You’ll be redirected to the page where you can put details of the site you want to create. The name of the site will be shown in the Rocket.net dashboard and it will also be visible to your site’s visitors.
Next, use the Select Location drop down to choose the data center where you would like your site hosted. This won't impact your visitors, since they will be using Cloudflare Enterprise for high speed worldwide. Instead, it should be a location geographically close to you, since work done in the WordPress Dashboard will not be cached.
Step 2: Enter WordPress Information
As shown in the screen shot below, fill out the required information. See the details below the screen shot.
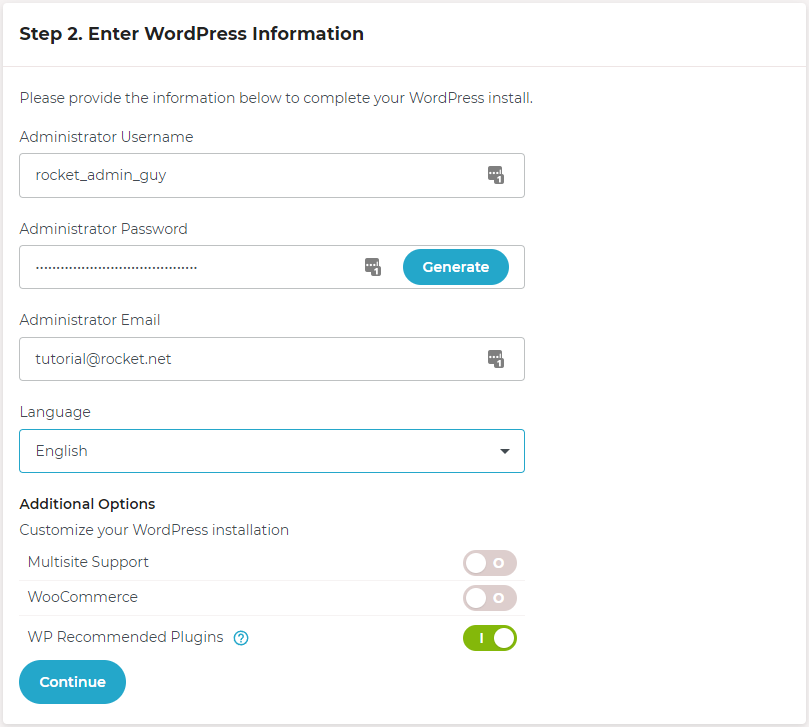
- Administrator Username
You will use this to log in to your WordPress installation. You will be able to add additional users later on. We recommend choosing something other than “admin” for the username for maximum security. - Administrator Password
You will use this password to log in to your installation. We automatically enforce strong passwords to protect users. You can use the generate new password option (Generate Button) if you would like a randomly generated password. Do not use a password you've used before. - Administrator Email
This is the email address your WordPress install will use to notify you with important information. - Language
Select the language you would like to use WordPress in. You don’t have to write content in the same language as your WordPress interface, so feel free to choose your native tongue, even if you are writing content in English. - Multisite Support
Enabling this option will install WordPress and enable the Multisite feature. - WooCommerce
Enabling this will auto-install the latest version of WooCommerce while creating your site. - Recommended Plugins
Selecting this option will install several high quality plugins that Rocket.net recommends.
Completing The Process
When you’re ready, click on the Continue button. Creating the new site will take a few moments. You'll then be redirected to the Rocket.net Dashboard where you can manage your new site:
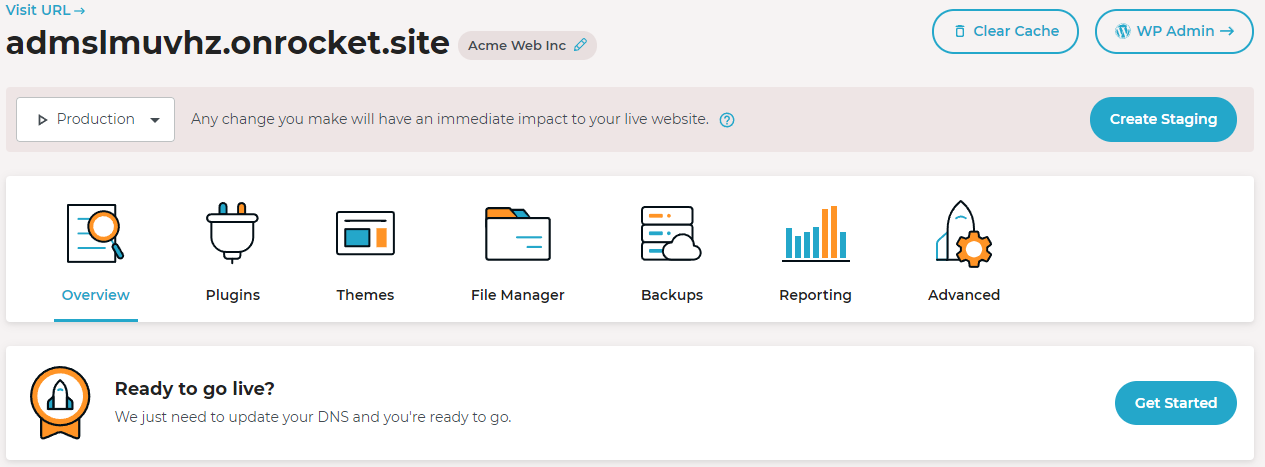
You can Learn More about how to Manage your WordPress account in this KB article. If you have any issues or require assistance, please do not hesitate to Submit a Ticket to our Support Team.
Comments
0 comments
Article is closed for comments.